The Ultimate Installation Guide for Strand Woven Click Bamboo Flooring

The Ultimate Installation Guide for Strand Woven Click Bamboo Flooring
Strand woven click bamboo flooring represents a pinnacle of durability and aesthetic appeal for residential and commercial spaces. Manufactured by compressing bamboo fibers under extreme pressure and heat, this material offers a density that rivals or exceeds many traditional hardwoods. The addition of a click-lock mechanism simplifies the fitting process, allowing the planks to float over the subfloor without the need for nails or messy adhesives.
However, achieving a flawless, long-lasting floor requires much more than simply snapping pieces together. Because of its unique composition and extreme density, strand woven bamboo behaves differently than standard wood products. It demands rigorous site preparation, strict environmental controls, and meticulous attention to detail during the fitting process. This comprehensive manual breaks down every phase of the project, from material acclimation to the final trim, ensuring a professional-grade result that will endure for decades.
Understanding the Material Characteristics
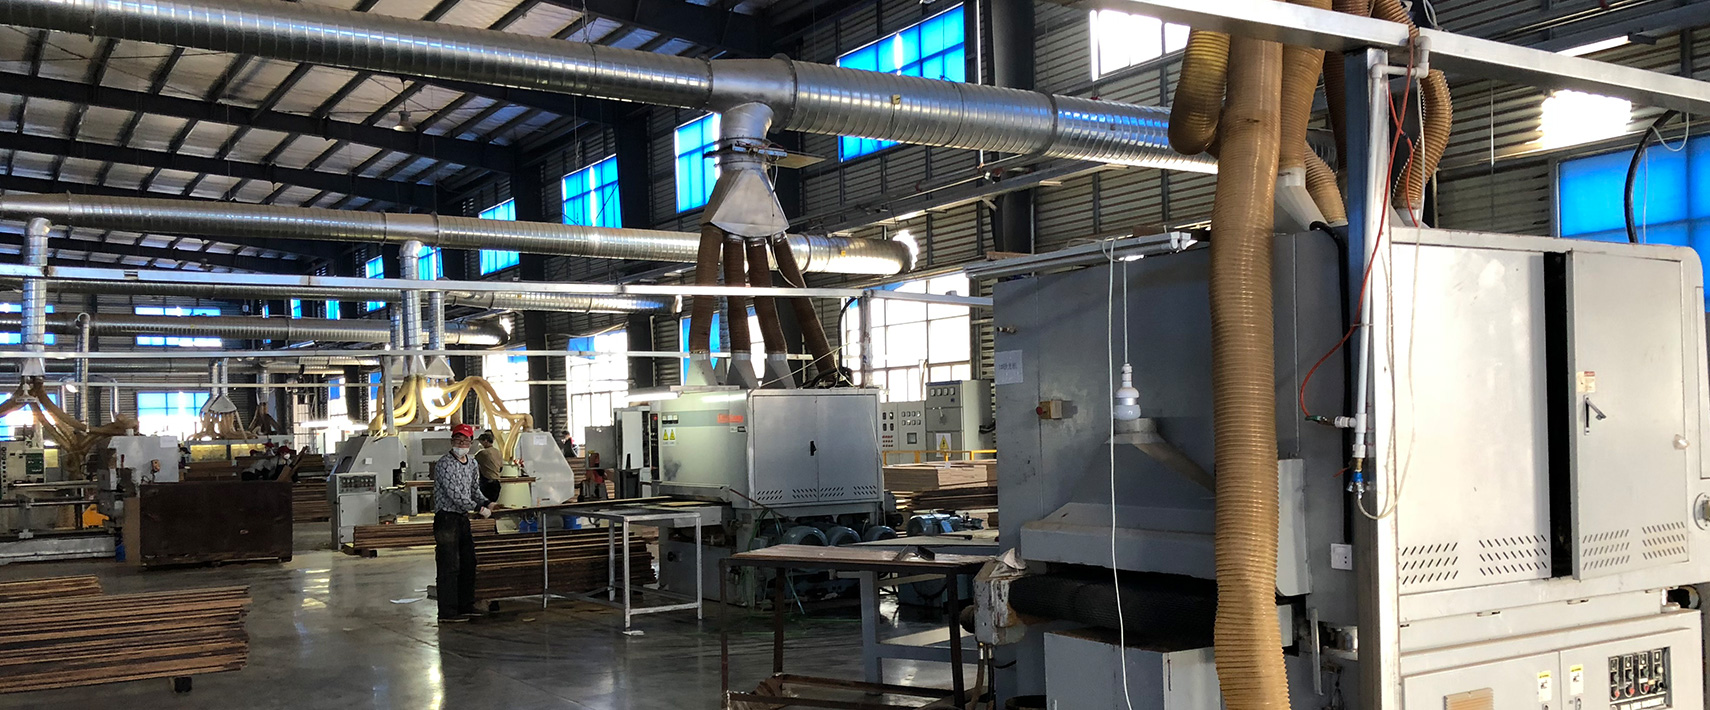
Before opening a single box, it is necessary to understand exactly what you are working with. Strand woven bamboo is not a solid piece of lumber. It is a highly engineered product made by shredding bamboo stalks into raw fibers, coating those fibers in specialized resins, and pressing them into massive, dense blocks before milling them into individual planks.
This manufacturing method gives the material its exceptional hardness rating, making it highly resistant to dents, scratches, and heavy foot traffic. Conversely, this high density also means the material is incredibly slow to release or absorb moisture. While a standard oak plank might acclimate to a room’s humidity in a few days, strand woven materials require significantly more time to reach an equilibrium with their surrounding environment. Recognizing this behavioral trait is the foundation of a successful project.
Essential Tools and Materials
Gathering the correct equipment beforehand prevents delays and ensures each step is executed correctly. You will need:
- A high-quality moisture meter (suitable for both wood and concrete)
- A tape measure and a reliable combination square
- A chalk line
- A pull bar designed for floating floors
- A solid tapping block (never use a scrap piece of flooring to tap)
- Rubber mallet
- Wedge spacers to maintain perimeter expansion gaps
- A compound miter saw with a fine-toothed carbide blade (at least 80 teeth)
- A table saw or circular saw for ripping length-wise cuts
- A jigsaw for cutting around obstacles and vents
- Appropriate underlayment and moisture barrier tape
- Safety glasses and hearing protection
Phase 1: Site Conditions and Material Acclimation
The most common reason for flooring failure—whether it manifests as cupping, buckling, or separating seams—is improper acclimation. You cannot deliver the boxes to a job site and immediately begin laying the planks.
The installation environment must be fully enclosed and climate-controlled. All wet trades, such as painting, drywall taping, and concrete pouring, must be completely finished and allowed to dry entirely. Running the HVAC system is mandatory. The room’s temperature should be maintained between 60 and 80 degrees Fahrenheit, with a relative humidity level strictly controlled between 40% and 60%. These conditions must be established at least five days before the flooring is delivered and maintained constantly thereafter.
Once the flooring arrives, it must be acclimated to this specific environment. Because of the dense resin and fiber composition, keep the material in the room where it will be installed for a minimum of 72 hours, though 5 to 7 days is highly recommended for strand woven products. Open the ends of the boxes and slice open any interior plastic wrapping. For the best results, remove the planks from the boxes entirely and cross-stack them in a lattice pattern. This exposes all sides of the planks to the ambient air, allowing the entire batch to reach a uniform moisture content.
Phase 2: Subfloor Preparation
The quality of your finished surface relies entirely on the integrity of the subfloor beneath it. Floating click floors require a base that is structurally sound, clean, flat, and dry.
Evaluating Subfloor Flatness
Strand woven click flooring is rigid. If the subfloor is uneven, the planks will flex when walked upon. This flexing places immense stress on the delicate click-lock mechanisms, eventually causing them to crack, break, or separate.
Use a long straight edge—at least six feet, though a ten-foot straight edge is preferred—to sweep across the subfloor. The tolerance for flatness is strict: the subfloor must not deviate by more than 3/16 of an inch over a ten-foot span, or 1/8 of an inch over a six-foot span.
If you are working over a concrete slab, grind down any high spots using a concrete grinder. Fill any low spots, dips, or cracks with a high-quality Portland cement-based self-leveling compound. Do not use standard concrete patch, as it may crumble under the movement of the floating floor.
If you are working over a wood subfloor (plywood or OSB), sand down the peaks and joints. Low spots can be built up using floor patching compounds designed for wood. Additionally, walk the entire area to check for squeaks or loose panels. Secure any moving sections by driving deck screws directly into the underlying joists.
Moisture Testing
Moisture is the natural enemy of any natural fiber floor. Testing is not optional.
For concrete subfloors, visual inspections are entirely inadequate. Concrete acts like a sponge, drawing moisture from the ground continuously. You must perform a Calcium Chloride test or use an in-situ Relative Humidity probe. The moisture emission rate must not exceed 3 pounds per 1,000 square feet over 24 hours. If the concrete exceeds these limits, you must apply a commercial-grade topical moisture mitigation system before proceeding.
For wood subfloors, use a pin-type moisture meter. The moisture content of the wood subfloor must not exceed 12%. Furthermore, the moisture difference between the subfloor and the acclimated bamboo planks must not be greater than 4%. If the subfloor is too wet, you must identify the source of the moisture—such as a poorly ventilated crawlspace or a plumbing leak—and resolve it before bringing the flooring into the house.
Phase 3: Underlayment and Vapor Barriers
Because this is a floating floor, an underlayment pad is required. The underlayment serves three primary purposes: it provides a minor cushion to smooth out microscopic subfloor imperfections, it dampens the acoustic hollow sound commonly associated with floating floors, and it can act as a moisture barrier.
If you are laying the floor over a concrete slab, a dedicated 6-mil polyethylene vapor barrier is mandatory, regardless of your moisture test results. Run the vapor barrier up the walls by about two inches (this will be covered later by baseboards) and overlap the seams by at least eight inches, sealing them completely with moisture-resistant tape.
Many high-quality underlayment pads come with a vapor barrier pre-attached to one side. If you use a two-in-one pad over concrete, ensure all seams are meticulously taped to prevent moisture migration.
If you are working over a wooden subfloor above a climate-controlled living space, a standard foam or cork underlayment without a heavy plastic vapor barrier is appropriate. Lay the underlayment out row by row as you work to avoid tearing it with your boots.
Phase 4: Planning the Layout
Aesthetically, floating floors look best when the planks run parallel to the longest wall in the room or parallel to the primary source of natural light.
Before making any cuts, calculate the width of your final row. Measure the total width of the room in inches and divide that number by the width of the exposed face of one bamboo plank. The remainder of this calculation tells you the width of the final row.
If the final row turns out to be less than two inches wide, it will be structurally weak, difficult to click into place, and visually unappealing. To fix this, you must cut down your very first starting row to balance the room. For example, if your planks are 5 inches wide and your final row calculates to 1 inch, cut 2 inches off the width of your starting row. This will make your first row 3 inches wide and your final row 3 inches wide, creating a balanced, professional appearance.
You must also account for the expansion gap. Bamboo expands and contracts with changes in seasonal humidity. You must leave a minimum 1/2-inch gap around the entire perimeter of the installation, including all walls, pipes, cabinetry, and door frames. Failure to leave this gap will result in the expanding floor pushing against the walls and buckling upward in the center of the room.
Phase 5: The Installation Process
The First Row
Begin in the left corner of your starting wall. Place 1/2-inch wedge spacers against the side and head walls. Lay the first plank with the groove side facing the room and the tongue side facing the wall.
Take the second plank and insert its end tongue into the end groove of the first plank at a slight angle. Drop it down to lock it in place. Ensure the seam is perfectly flush and there are no microscopic gaps. Continue this process until you reach the end of the first row.
When you reach the last plank of the first row, measure the remaining distance to the wall, subtract your 1/2-inch expansion gap, and cut the plank to size.
Staggering the Seams
The cut-off piece from the end of the first row should be used to start the second row, provided it is at least 8 inches long. This creates a natural, random stagger in the end joints. For structural integrity and visual appeal, end joints in adjacent rows must always be staggered by a minimum of 6 to 8 inches. Never allow joints to line up in an “H” pattern.
Engaging the Click-Lock System
To install the second row, take your first piece and angle its long side tongue into the long side groove of the first row. The angle is typically around 20 to 30 degrees. Push forward gently while lowering the plank flat to the subfloor.
For subsequent planks in the second row, you must engage both the short end and the long edge. Angle the long edge into the previous row and slide the plank down so the short end aligns tightly with the adjacent plank. Once the long edge is dropped flat, place your tapping block against the exposed profile of the new plank.
This is a critical step: never hit the bamboo directly with a hammer or mallet, and never place the tapping block over the fragile locking lip. The tapping block should rest squarely against the solid core of the plank. Give the block a few gentle, firm taps with the rubber mallet to drive the short seam completely tight. Run your finger over the joint; it should feel perfectly smooth without any raised edges.
Working Around Obstacles
When you encounter door casings, the cleanest method is to undercut the wooden trim so the flooring can slide completely underneath it, hiding the expansion gap. Lay a scrap piece of underlayment and a scrap piece of flooring against the door frame to act as a height guide. Rest a jamb saw or flush-cut saw flat on the scrap pieces and cut straight through the door casing and jamb. Remove the cut piece of wood, and the new flooring will slide neatly underneath.
For radiator pipes, measure the distance to the center of the pipe. Drill a hole in the plank that is one inch larger than the diameter of the pipe (to allow for the 1/2-inch expansion gap on all sides). Cut the plank straight across through the center of the drilled hole. Install the main piece of the plank around the pipe, then apply a small amount of wood glue to the cut edges and fit the remaining small piece behind the pipe, locking it together.
The Final Row
When you reach the opposite wall, you will likely need to rip-cut the planks lengthwise to fit. Measure the remaining space in several places, as walls are rarely perfectly straight. Subtract your 1/2-inch expansion gap from these measurements. Cut the final planks to width using a table saw.
Because you are working against a wall, you will not have room to use a tapping block to engage the long joint. Instead, angle the final plank into position, drop it down, and use a metal pull bar. Hook one end of the pull bar over the cut edge of the plank and tap the other end with your mallet to pull the joint tight.
Phase 6: Post-Installation Finishing and Maintenance
Once the entire floor is laid, remove all the plastic wedge spacers from the perimeter. The 1/2-inch expansion gap must be covered using baseboards, quarter-round trim, or shoe molding. When installing these moldings, nail them directly into the wall or the existing baseboard. Never nail the trim downward into the flooring itself. The floor must remain completely unpinned to float and expand freely.
For doorways leading to other rooms or transitions to different flooring types (like tile or carpet), install coordinating transition strips, such as T-moldings or reducers. Again, ensure the transition strip is fastened to the subfloor, leaving enough space in the tracking channel for the bamboo edges to expand.
The immediate care of your new floor dictates its lifespan. Vacuum or sweep up all installation dust immediately using a soft-bristle attachment. Never use a wet mop, steam cleaner, or excessive water on a floating bamboo floor. Liquid can seep into the unsealed click-lock seams and cause the fiberboard core to swell and warp.
For regular cleaning, use a lightly damp microfiber mop sprayed with a hardwood floor cleaner specifically formulated for polyurethane or aluminum oxide finishes. Avoid oil soaps, wax-based cleaners, and harsh chemical detergents, as these will leave a cloudy residue on the surface and degrade the factory finish over time.
Finally, protect the surface from mechanical damage. Apply heavy-duty felt protector pads to the legs of all furniture, chairs, and tables. Avoid walking on the floor with stiletto heels or athletic cleats. Place high-quality, breathable walk-off mats at all exterior entrances to capture dirt, sand, and grit before it can be ground into the floor surface. By understanding the dense nature of the material, controlling the environment strictly, and following precise preparation and fitting protocols, this flooring will provide a stable, beautiful, and highly resilient surface for any demanding environment.