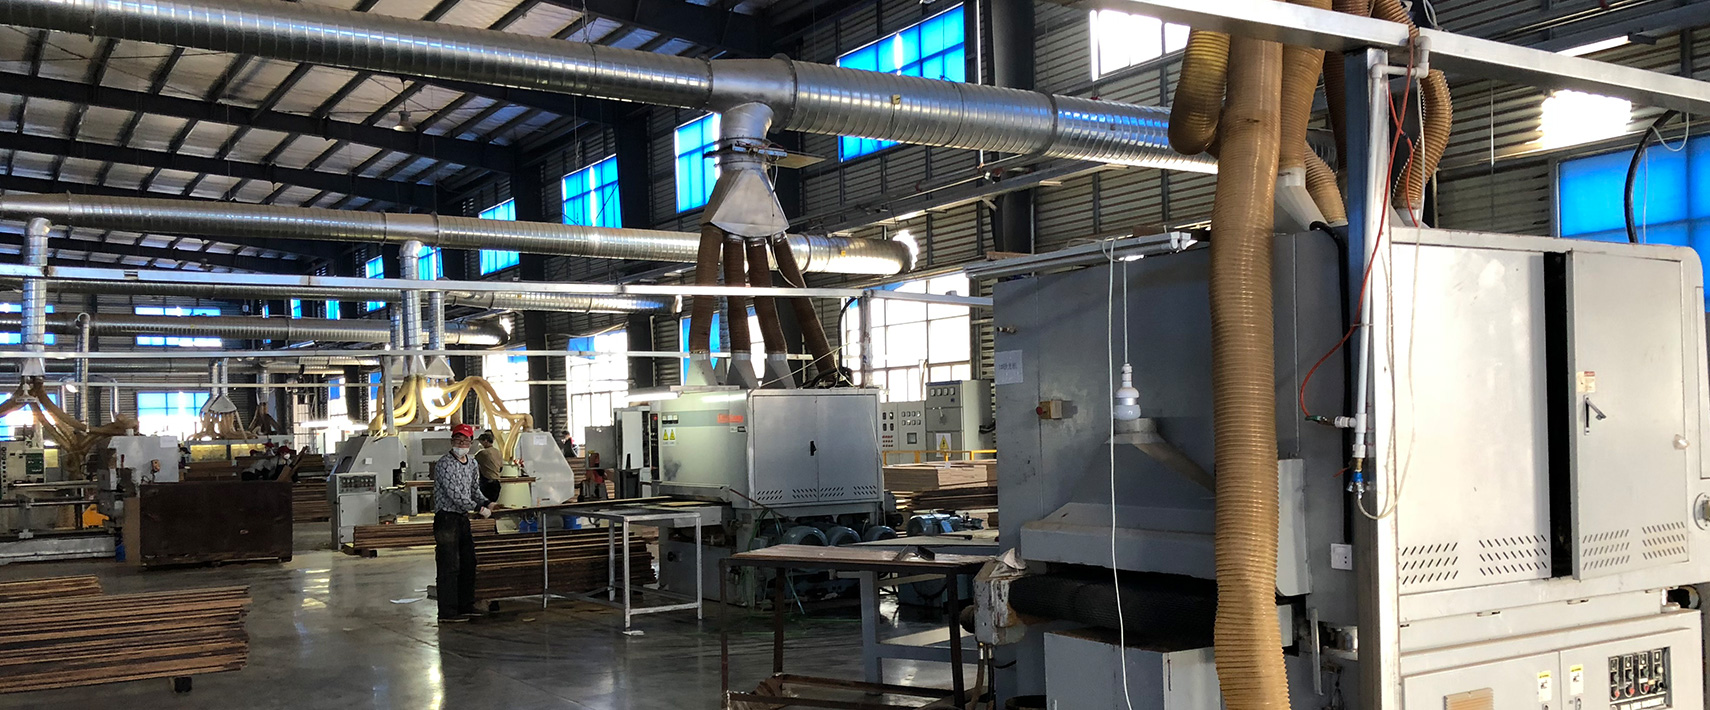
How Manufacturers Produce Finger Joint Pine Boards

Pine has long been valued in construction and woodworking for its workability, lightweight nature, and straight grain. However, raw pine lumber harvested directly from logs comes with natural imperfections. Knots, sap pockets, resin channels, and localized grain deviations can weaken a board or cause it to twist, warp, and cup as it dries. To overcome these natural limitations while making full use of harvested timber, wood processing facilities rely on precision engineering techniques to produce finger joint pine boards.
Finger jointing is an industrial woodworking process that takes short, clear sections of solid pine, removes natural defects, and joins them end-to-end using interlocking wedge-shaped fingers and high-performance adhesives. The resulting engineered boards are longer, straighter, and dimensionally more stable than natural solid pine lumber. Understanding how manufacturers produce finger joint pine boards provides valuable insight into timber utilization, panel stability, and modern woodworking standards.
Raw Material Selection and Log Processing
The production process begins in responsibly managed pine plantations, where species like Radiata Pine, Taeda Pine, Maritime Pine, or Scots Pine are harvested. Once logs arrive at the sawmill, they are debarked and sawn into rough dimensional lumber using band saws or gang rip saws.
At this initial stage, the lumber contains a high percentage of natural moisture. Green pine lumber can hold water content exceeding eighty percent of its dry weight. Processing wood in this high-moisture state is impossible because adhesives will not cure properly, and the wood will shrink significantly as it dries, ruining tight joints. Therefore, raw boards are sorted by thickness and density before moving into the drying phase.
Kiln Drying and Moisture Equalization
Kiln drying is arguably the most critical preliminary step in manufacturing finger joint pine boards. The rough-sawn pine boards are stacked with wooden spacers, known as stickers, placed between each layer to allow uniform airflow across every board surface. These stacks are loaded into computer-controlled dry kilns.
Inside the kiln, temperature, relative humidity, and airflow are carefully regulated over several days. The goal is to reduce the moisture content of the pine down to a precise range, typically between eight and twelve percent, depending on the target region and final application of the boards.
Controlling moisture at this stage prevents internal stresses, checking, and surface splitting. Equalizing the moisture content across the entire batch ensures that when the short pine blocks are glued together later in the process, each block shrinks and expands at identical rates under ambient humidity changes. Once the lumber emerges from the kiln, it rests in a climate-controlled cooling area to relieve internal drying stresses before mechanical processing begins.
Four-Side Planing and Initial Inspection
After moisture stabilization, the rough-sawn pine boards pass through high-speed four-side planers or molders. This machinery smooths all four surfaces of the boards, removing rough saw marks and bringing the timber to a uniform width and thickness.
Planing serves two main purposes. First, it establishes precise reference surfaces necessary for accurate mechanical cutting later in the line. Second, it exposes the true surface quality of the wood, making knots, cracks, pitch pockets, and grain defects clearly visible to automated optical scanners or trained quality control inspectors.
Defect Removal and Cross-Cutting
Natural pine contains a mixture of sound tight knots, loose knots, decay, and resin pockets. To manufacture premium finger joint boards, these undesirable features must be completely removed.
Modern manufacturing facilities utilize high-speed optical scanning systems equipped with laser sensors and digital cameras. As the planed pine boards travel down the conveyor at high speed, the scanner analyzes the wood grain, identifying knot diameters, cracks, discoloration, and grain angle. The computer algorithm calculates the exact locations where cuts should be made to maximize clear wood recovery while eliminating defects.
The scanned boards immediately enter automated cross-cut saws, often referred to as defect-cutting chop saws. These ultra-fast saws make precise perpendicular cuts across the board, dropping out the defective sections and releasing clear, solid pine blocks ranging from six inches to three feet in length. In less automated factories, experienced saw operators mark defects with specialized fluorescent chalk, which an optical sensor reads to trigger the chop saw.
This defect-removal stage transforms low-grade or knotty timber into piles of pristine, high-grade solid wood components. By salvaging clear wood between knots, timber mills drastically reduce waste and maximize log yields.
Precision Finger Profile Machining
Once the pine is reduced to clear blocks, the blocks are conveyed to the finger jointing machine, commonly called a finger jointer. This machine aligns the short blocks horizontally and trims their ends perfectly square.
High-speed rotating cutter heads, fitted with precision-ground carbide or diamond-tipped knives, mill interlocking series of mini-fingers into both ends of every pine block. The cutter head profile creates tapered teeth with sharp tips and matching roots.
The geometry of these fingers is carefully engineered. The taper ensures that when two blocks press together, a powerful mechanical wedge action takes place, forcing the wood fibers into intimate contact. Finger profiles typically vary in length based on the intended application:
Short finger profiles, around four to ten millimeters long, are widely used for interior trim, molding, window components, and furniture panels where a discreet joint line is desired.
Longer finger profiles, measuring fifteen to twenty-five millimeters or more, are specified for heavy structural timber, glulam beams, and load-bearing framing where maximum shear and tension strength across the joint line is required.
Additionally, manufacturers can machine finger joints in two visual orientations. Vertical finger joints show the interlocking zig-zag profile on the wide face of the board. Horizontal finger joints place the interlocking profile on the narrow edge, leaving a clean, straight butt-joint appearance on the main face. Horizontal joints are preferred for clear face boards, tabletop panels, and decorative moldings.
Adhesive Application
Immediately after the finger profiles are milled into the ends of the wood blocks, an automated glue applicator applies a controlled layer of high-strength adhesive into the cut fingers.
Selecting the right adhesive depends on whether the finished finger joint pine board will be used for interior or exterior applications:
Polyvinyl Acetate, or PVA glue, is commonly used for interior furniture boards, door frames, and architectural trim that remain in dry, climate-controlled environments. Cross-linking PVAs offer enhanced moisture resistance for general interior use.
Polyurethane adhesives provide fast curing times, excellent bond strength, and high moisture tolerance without releasing formaldehyde, making them popular in modern high-speed production lines.
Melamine Urea Formaldehyde or Phenol Resynol Formaldehyde adhesives are utilized for exterior structural boards, decking cores, and structural engineered timber. These structural resins cure to form a waterproof, weather-resistant bond capable of withstanding moisture, heat, and long-term mechanical loads.
Sensors on the gluing station ensure that every finger surface receives an exact, uniform coat of adhesive. Insufficient glue results in a weak joint, while excessive glue creates mess, wastes material, and leaves visible glue lines under clear finishes.
Assembly, Longitudinal Pressing, and Curing
With adhesive freshly applied, the pine blocks move directly into the assembly section of the machine. The blocks are lined up end-to-end along a precision guide track, feeding continuously into a long alignment bed.
Once the desired board length is reached—often sixteen to twenty feet, or custom lengths tailored to client orders—a flying cutoff saw cuts the continuous ribbon of joined blocks to exact measure.
The freshly assembled board is instantly clamped in a powerful hydraulic or pneumatic end-press. The press applies immense longitudinal pressure, pushing the blocks tightly together along their length. This axial pressure forces the tapered fingers to interlock under high friction, squeezing out excess air and driving the adhesive deep into the pine cell structure.
Under this intense pressure, the friction between the mating fingers generates a mechanical interlock so strong that the board can be handled almost immediately without the joints slipping. In automated lines, Radio Frequency or High-Frequency curing units apply electromagnetic energy directly to the joint area, curing the adhesive resin in a matter of seconds rather than waiting hours for cold curing.
Rip-Slicing, Edge-Gluing, and Panel Construction
For single-strip finger joint pine lumber, the manufacturing process moves directly to final sizing after curing. However, finger joint pine boards are frequently converted into wide panels, tabletop blanks, and edge-glued furniture boards.
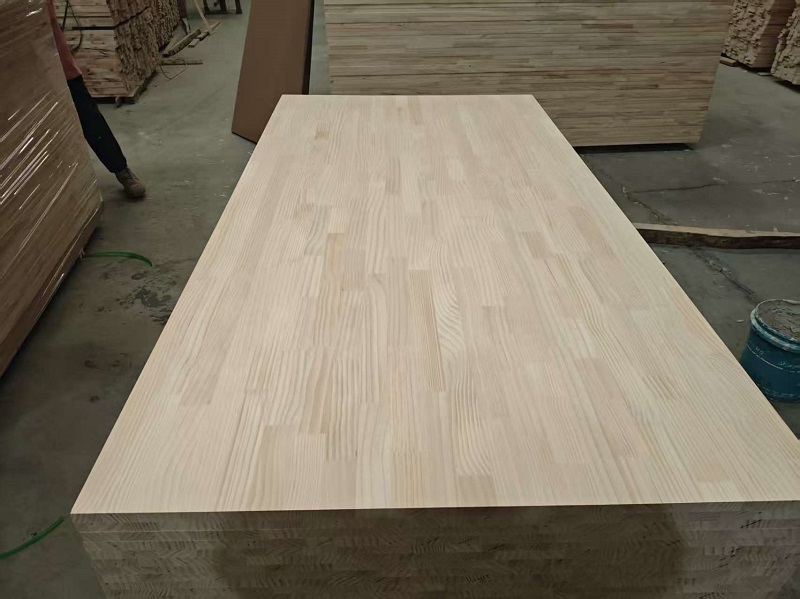
To manufacture wide finger joint pine panels, multiple long finger-jointed strips are edge-planed so their sides are perfectly flat and square. These strips are laid side-by-side on an edge-gluing press table. Glue is applied along the long side edges of each strip, with care taken to stagger the end-to-end finger joints across adjacent rows. Staggering joint lines prevents weak points from aligning across the width of the panel.
The assembled strips enter a hydraulic hot press or radio-frequency edge-gluer. The machine clamps the strips tightly from the sides and applies heat, curing the edge joints into a wide, continuous solid pine panel. This technique produces wide boards that maintain flat profiles without the heavy warping associated with wide single-piece lumber.
Final Planing, Sanding, and Quality Inspection
Whether produced as individual narrow boards or wide laminated panels, the cured finger joint pine products undergo final surfacing to achieve precise tolerances and smooth finishes.
The boards pass through a heavy-duty wide-belt sander or finishing molder. Multi-stage sanding heads, starting with coarse grit and progressing to fine grit, smooth away any residual glue squeeze-out, level minor height variations between joined blocks, and prepare the wood surface for painting, staining, or lacquering.
Quality control technicians perform rigorous testing throughout and after production. Samples from production batches undergo destructive testing, including static bending tests, tension tests, and boiling-water soak tests for exterior-grade bonds. In a properly manufactured finger joint board, the glue line itself is stronger than the natural pine surrounding it; when tested to destruction, the solid wood fibers will tear apart before the finger joint bond fails.
Finally, the finished finger joint pine boards are graded based on surface appearance, trimmed to final sales lengths, bundled, wrapped in protective moisture-barrier film, and prepared for shipment to distributors, furniture manufacturers, and building supply centers worldwide.
Primary Advantages of Manufactured Finger Joint Pine Boards
Understanding the manufacturing process highlights why finger joint pine boards have gained such widespread adoption across construction and manufacturing industries:
Dimensional Stability: Because individual short pine blocks have alternating grain orientations and defects are removed, internal wood stresses cancel each other out. Finger joint boards remain remarkably straight, resisting the warping, twisting, and bowing common in solid lumber.
Resource Efficiency: The finger jointing process allows factories to utilize up to eighty-five percent or more of harvested timber logs by salvaging clear wood between knots and defects, making it an environmentally responsible use of softwood plantation resources.
Continuous Long Lengths: Natural trees have limits on knot-free lengths, but finger jointing enables the production of clear, defect-free boards in extra-long lengths that are difficult or impossible to find in natural solid timber.
Uniform Material Quality: Builders and furniture makers receive consistent, high-grade lumber without the need to sort through jobsite piles to discard bowed or heavily knotted boards, saving labor time and reducing material waste on site.
Superior Paintability: Removing resin pockets and loose knots eliminates sap bleed-through and knot pop-outs, providing a smooth, uniform surface ideal for high-end painted cabinetry, trim, and interior architectural woodwork.